
Portable Beach Table Tutorial
{just in time for summer outings}

Materials
4 yards - 1" strapping or webbing {available at Jo-Ann fabrics}
staple gun and ¼ “ staples
15” velcro strip (cut into ten 1 ½ inch pieces)
strong adhesive glue {we used super glue}
15 wooden stats 1 1/2″ x 1/4″ cut into 30″ lengths
{we bought 8' lattice pieces and Lowes cut them for free}
4 small plastic baskets

Directions
1. Sand the slats and paint if desired.

2. Space thirteen of the wooden slats parallel to one another with equal space in between each one. They should total from the first to last 30″ forming a square shape.


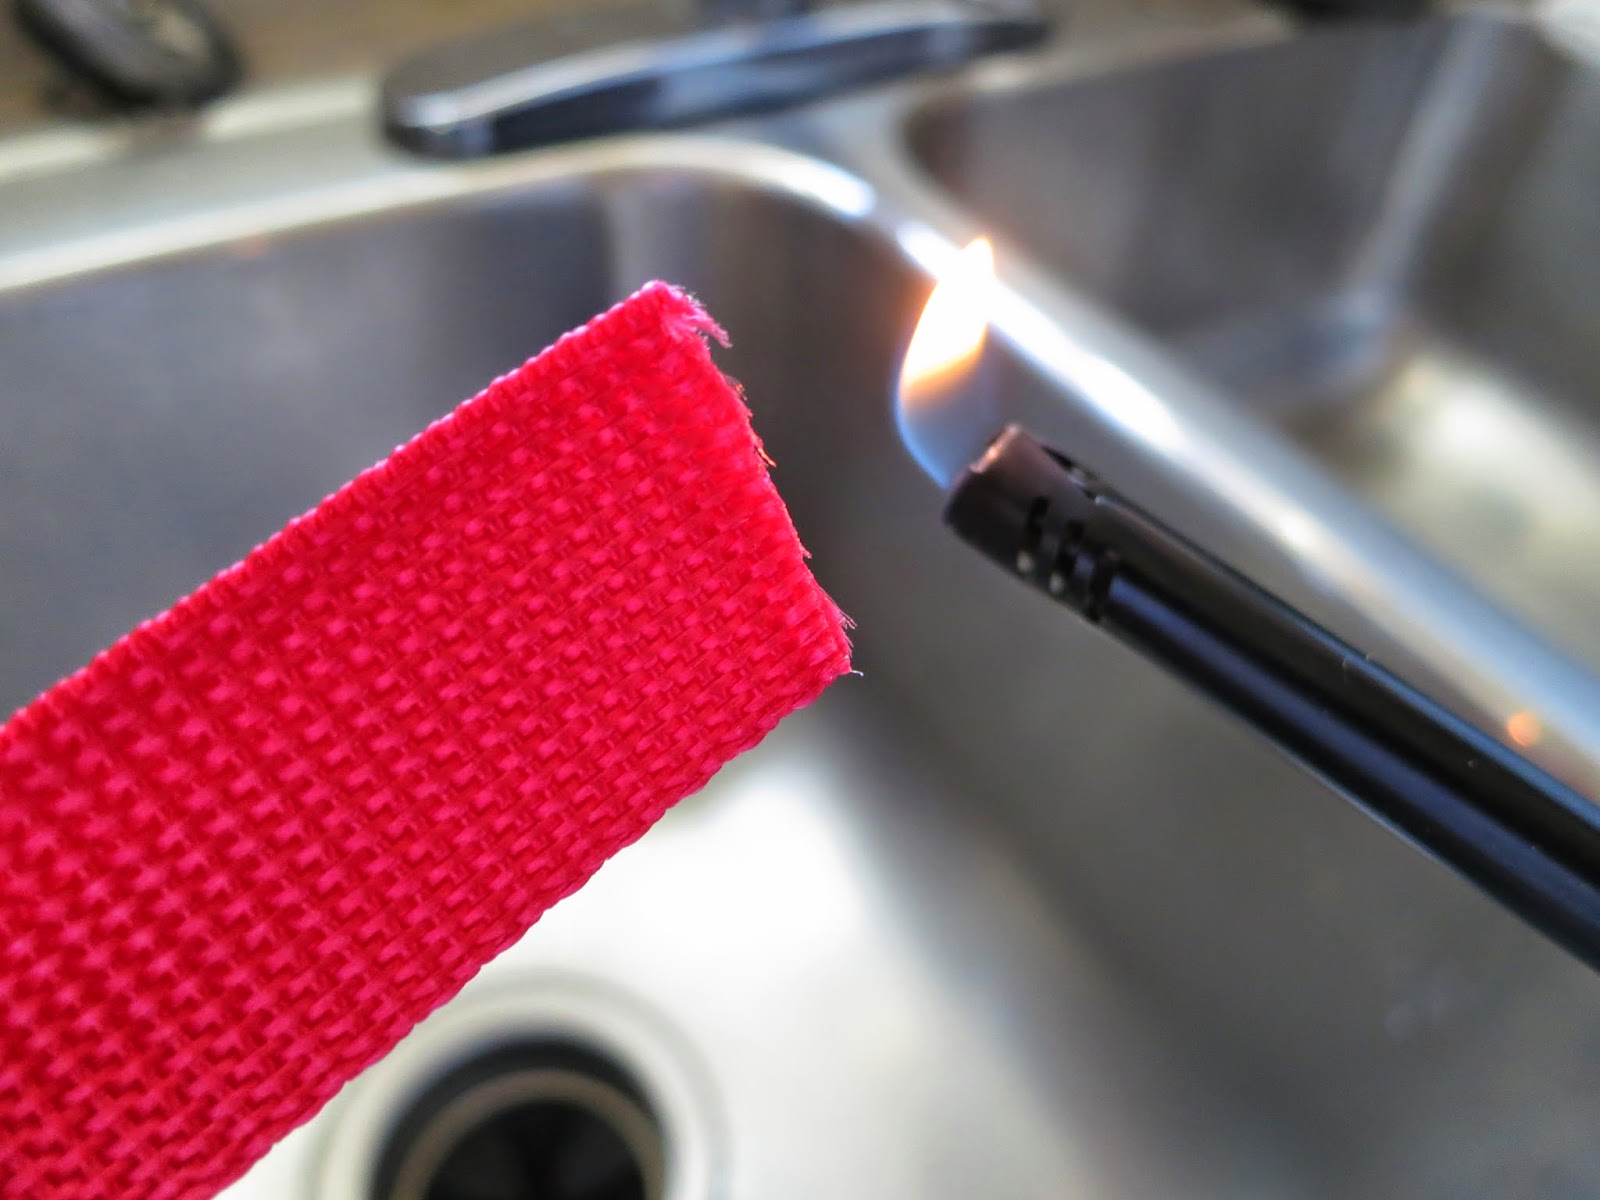
3. Cut the strapping in half, so you have two strips equaling two yards each. Fuse the ends with a flame to prevent raveling.
4. Start at one end of the parallel boards and lay both strips of strapping 5 inches in on both sides so they transect each board.

One end of the strapping should be even with the first board; the last board should have the excess amount of strapping. This excess side will be used to wrap around the table to carry it. One end of the strapping should be even with the first board; the last board should have the excess amount of strapping. This excess side will be used to wrap around the table to carry it.

5. Staple the strapping once to each board. Then put some strong glue under the strapping on each board and staple a second time.
6. With the remaining two boards (boards #fourteen and fifteen), glue and then staple the loop side of the velcro strip to both ends of each board and one piece in the middle. Then about six inches in, staple and glue the soft side of the velcro to boards one, seven, and thirteen. This will provide the cross beams to the table.

7. Take the soft side of a velcro strip and add (staple and glue) to the end of boards one and thirteen. This will allow you to attach the cross beams to the first and last boards so you can roll all the boards together for travel purposes without losing the cross beams.
8. Attach the cross boards to the end pieces {on top of and even with the first and last board} and then roll up. Wrap strapping ties around table to form a shoulder strap for carrying


We adapted this project from one shown in Basics Magazine.
This video shows their similar table and how to set it up.
This video shows their similar table and how to set it up.
They used 11 slats, we used 13 to make spaces between the slat smaller.


.jpg)
4 comments:
Perfect for a beach picnic. We are always hoping to get to the beach early enough to get a picnic tanle but aren't always successful. The little table would be perfect for taking to a more remote stretch. Love it!
That is fantastic!!
XO Kris
This is awesome in every way! Appreciate you sharing the how-to!
What a great idea! This is brilliant and I am passing it on. Love the picture of you and your friends. Life as it should be:)
Post a Comment